


There’s something undeniably magical about the aroma of freshly blended nut butter wafting through your kitchen. Just imagine: a simple piece of toast becomes an indulgent delight, while a plain smoothie transforms into a luscious treat. What’s even better? You have the power to whip up nut butter at home that’s not only fresher but generally healthier and more tailored to your palate than anything you’ll find on store shelves.
If you’ve ever paused at the idea of making your own nut butter because it seemed too complicated, I’m here to reassure you with good news — it’s easier than you might think! With a food processor or a high-speed Blendtec blender that can handle the job with ease, plus a sprinkle of know-how, you’ll be churning out dreamy batches of nut butter faster than you can say “spread it on toast!”
Why Make Homemade Nut Butter?
Sure, store-bought nut butters have their convenience, but they often come with a laundry list of additives, from hidden sugars to unpronounceable preservatives. When you make your nut butter at home, you take the driver’s seat in terms of ingredients. It’s all about knowing what’s going into your food.
Imagine blending your favorite nuts with dazzling flavor combos — perhaps toasted almonds paired with creamy coconut, or rich cashews combined with a whisper of vanilla. The taste is fresher, the nutrients are more intact, and your ingredient list is as short as it gets. Plus, making nut butter yourself is a wallet-friendly option, especially when you buy nuts in bulk. Don’t forget, you also get to play hero for the environment by storing your homemade goodies in reusable jars!
Tools You’ll Need To Make Nut Butter at Home
Before you dive headfirst into nut butter making, having the right tools can make all the difference in creating a smooth, enjoyable experience.
1. A food processor or high-speed blender: This tool is your golden ticket. A high-quality Blendtec or similar machine really does wonders!
2. A baking sheet: Essential for roasting your nuts if they aren’t pre-roasted already — a must for that deep flavor.
3. A spatula: Trust me, you’ll want this handy for scraping down the deliciously stubborn bits that cling to your blender or processor.
4. A jar or airtight container: Where your nut butter will live once it’s done — and trust me, you’ll want to keep it fresh!
Having these items on your counter makes it feel less intimidating and more like a fun kitchen project. As they say, a little preparation goes a long way in turning everyday ingredients into something seriously special. Once you’ve got your tools ready, it’s go time for creating your very own nut butter!
Simple Ingredients for Homemade Nut Butter
The best part about homemade nut butter? It mostly revolves around a single ingredient — nuts! You can play around with almonds, peanuts, cashews, pecans, hazelnuts, or even seeds such as sunflower or pumpkin. Feel like adding a little pizzazz? Optional ingredients like salt, honey, cinnamon, or cacao can elevate your nut butter into a delightful indulgence!
Step-by-Step Process To Make Nut Butter
So, how do you bring your nut butter vision to life at home? Trust me, the process is straightforward, and each step helps you achieve that creamy, dreamy finish you’re craving. Follow this guideline to whip up nut butter like a pro!
1. Choose Your Nuts: Start with around 2-3 cups of your preferred nuts, whether they’re raw or roasted. If using raw, take the time to roast them first for ultimate flavor. Just spread them on a baking sheet and pop them in the oven at 350°F (175°C) for 10-15 minutes, stirring occasionally for even roasting.
2. Cool the Nuts: Once your nuts are roasted, let them cool a bit. This step is crucial since hot nuts can disrupt the blending process and make the oils separate too quickly.
3. Blend Your Cooled Nuts: Toss the cooled nuts into your food processor or blender. Start on a low speed and gradually ramp it up. You’ll see them transform through various stages: first crumbly, then becoming powdery, thickening into a paste, and finally achieving that smooth, creamy state you’re looking for.
4. Scrape and Blend the Nuts Some More: Don’t forget to pause and scrape down the sides of the bowl or jar to catch every delicious bit. It takes patience, and depending on your machine, this process can take anywhere from 5 to 15 minutes.
5. Add Flavor (Optional): When your nut butter reaches that dreamy consistency, you can mix in some salt, sweeteners, or spices of your choice. Just give your blender a few more pulses to combine everything nicely.
6. Store Your Nut Butter: Transfer the nut butter into a clean jar or airtight container. It’ll keep for about 2-3 weeks at room temperature or even longer if you stash it in the fridge.
The beauty of making your nut butter is that it’s fully customizable! Feel free to tweak it to fit your taste buds. Once you’ve nailed down the basics, store-bought nut butter will feel like a thing of the past!
Tips for Perfect Homemade Nut Butter
Even though making nut butter is simple, a few handy tips can make your creation even better. Follow these must-know tricks to ensure a smooth, flavorful, and fuss-free experience every time:
- Be patient: It can feel like your nuts are stuck in a crumbly phase for ages, but trust me, they will eventually release their oils and transform into creamy goodness.
- Avoid overloading your machine: Always stick to your blender or processor’s recommended capacity to prevent overheating and ensure even blending.
- Experiment with combos: Don’t shy away from mixing nuts and seeds, or incorporating flavors like vanilla, cinnamon, or even a drizzle of melted chocolate for something truly unique.
Minor adjustments in your process can make a big impact on your final product. Whether you’re sticking to a classic nut butter or experimenting with more creative combinations, a bit of extra care will lead you to a perfectly smooth and delicious outcome.
Let’s Get Blending!
Now it’s time to embrace the joy of homemade nut butter and discover flavors that are simply impossible to find in stores. Picking your favorite nuts is only the beginning — the real fun begins when you start playing with different flavor profiles. With your fridge now stocked with your very own homemade nut butter, you’re equipped to elevate your meals and snacks, transforming everything from breakfast to dessert in the blink of an eye.
Once you’ve mastered the art of nut butter making, the sky’s the limit. Spread it on pancakes, stir it into oatmeal, blend it into smoothies, or use it as a base for dressings and sauces. And let’s not forget — a jar of your homemade nut butter makes for a heartfelt, personalized gift that friends and family are sure to love. Just slap on a cute label and add a little ribbon, and you’re good to go!
So what are you waiting for? Grab those nuts, fire up that blender, and embark on your nut butter-making journey. After tasting your own creation, the store-bought stuff will seem like a distant memory!
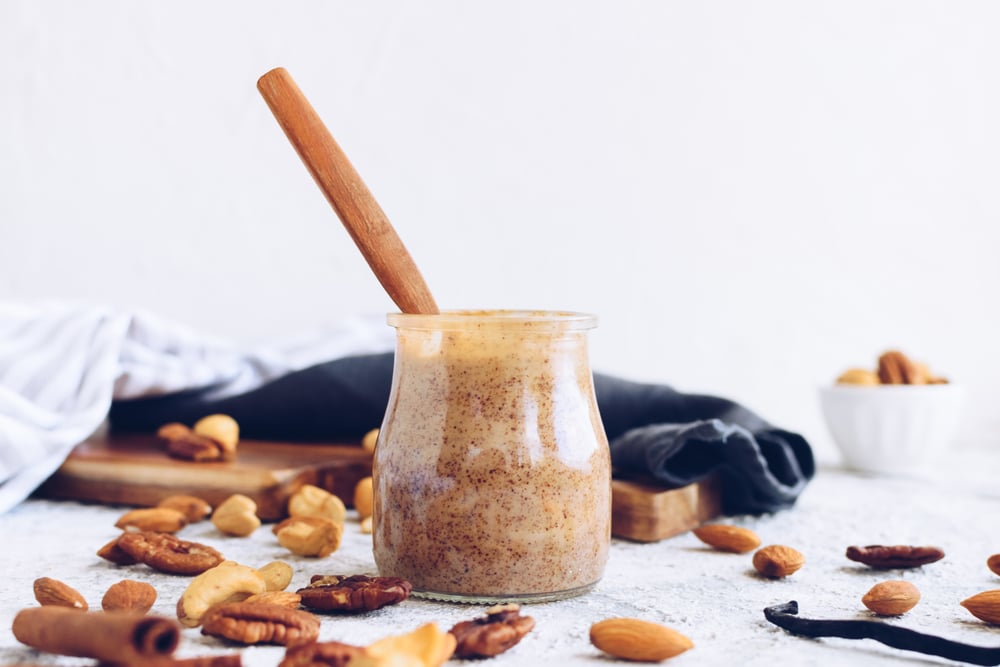
Image Source: Nelli Kovalchuk / Shutterstock